It’s back. If you’re a regular reader and you’re surprised, I am too. I thought I was done with “same yarn different stuff” posts. Turns out I was wrong.
I bought four skeins of Plymouth Yarns worsted weight Encore in Winter White and four skeins in Lagoon for a baby blanket I planned to knit. I thought I’d have one extra skein but I hadn’t yet decided which color would be my main color and which would be the contrast. Turns out I that after knitting the blanket I had enough left over for 2 accessory knits. So I thought I’d return to my past “theme” and write about how my Encore worked out in three different knits.
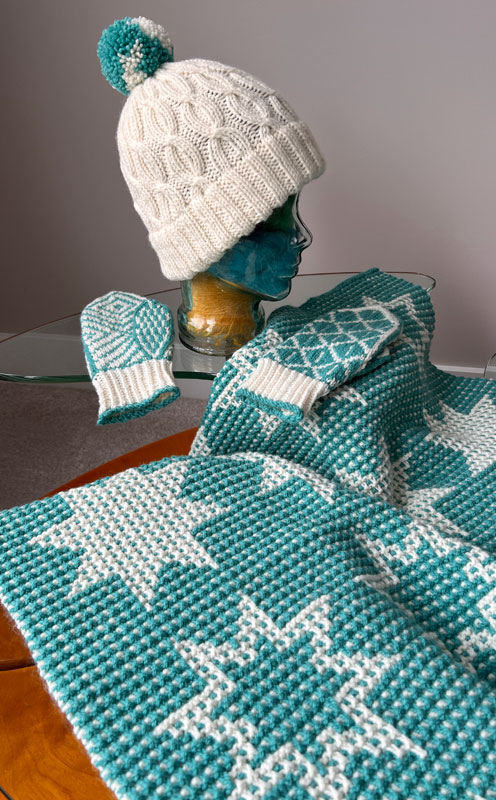
The hat is a fairly new pattern from Shelby Nichols, the Sava Springs Cap. That pair of mittens tucked around Glass Head’s neck is Sophie McKane’s Coin Slot Mittens. And the star of the show, that slip stitch/mosaic baby blanket, is Amy Marie Vold’s Sleeping Under the Stars.
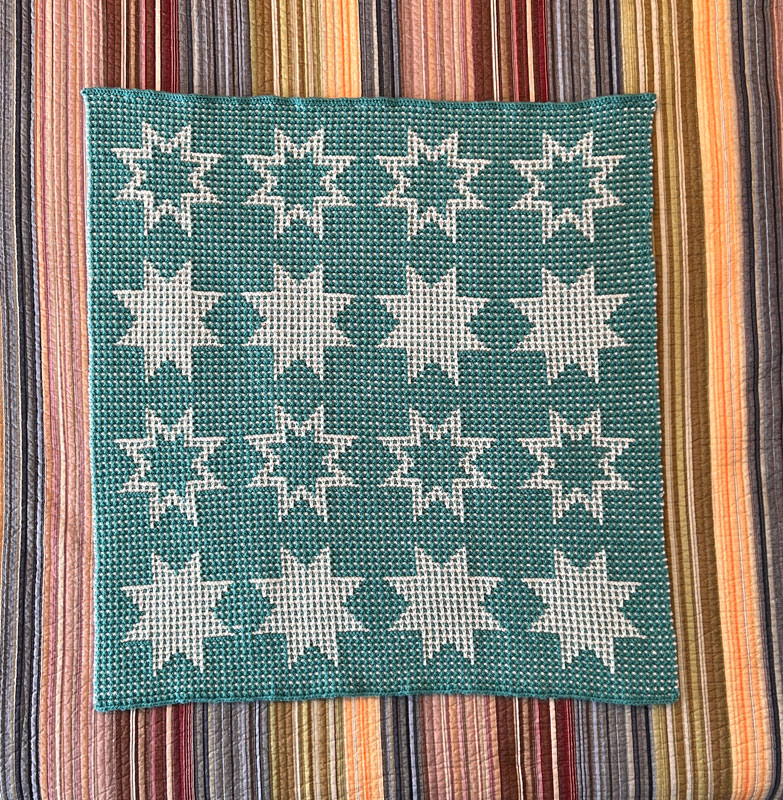
Here’s a view of the entire blanket. I rate it a spectacular design for a wee one.
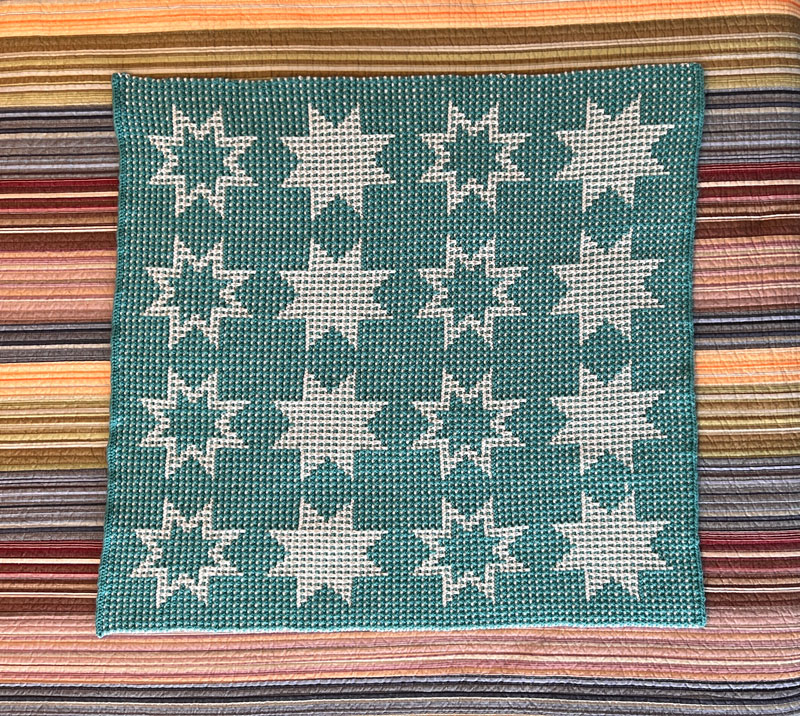
I knit the stars in the contrast-color (white) and the background in the main-color (teal). My blanket is 33.5 wide and 35.5 long (so almost square). Encore kept those dimensions even after machine washing (on delicate) and machine drying (on a low temperature). As I knit the blanket I was concerned that the mosaic stitch was creating too firm a fabric. I was knitting basically at gauge on US size 8 needles and I was concerned that if I moved up to a size 9 I’d run out of yarn. I want the blanket to nestle nicely around the new babe and not just sit atop him like a stiff paper bag. So I was concerned about the firmness of the fabric. But Encore saved the day, relaxed nicely into the stitch, and softened in the washer and dryer. I’m completely satisfied.
I took the designer’s advice and used the Chinese Waitress Cast-on with a matching Double Chain Cast-off. If you haven’t tried these techniques yet, consider taking them for a test drive. Admittedly the cast-on is a little fiddly at first. But you’ll pick up speed in two shakes of a lamb’s tail. The cast-off is super easy. The result is that your knitting will begin and end with a neatly chained row of stitches. Quite spiffy.
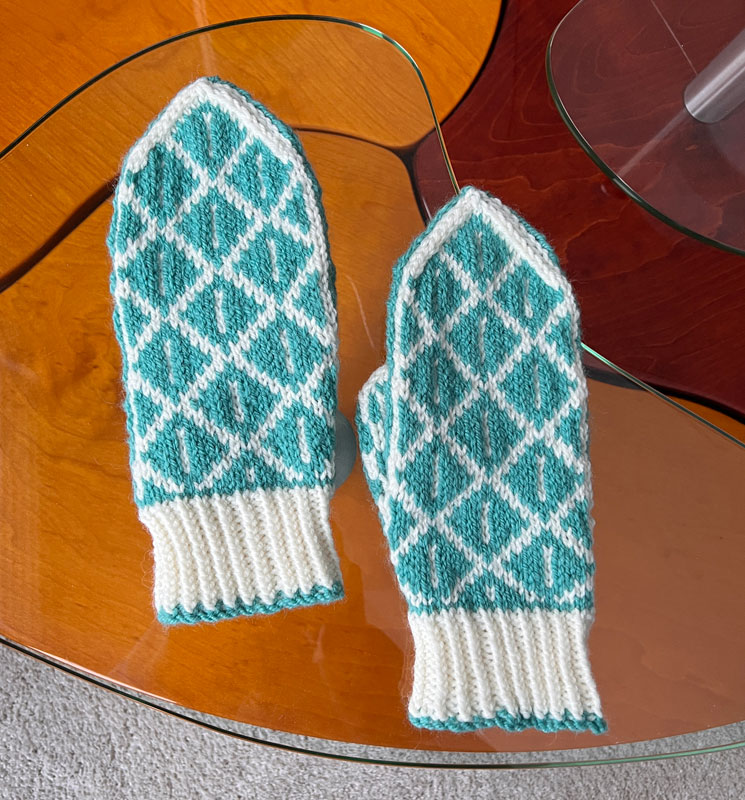
With some of the remaining Encore I decided to knit the Coin Slot Mittens. While shopping at Country Needleworks recently I made myself comfortable and browsed through their crates of discounted patterns. This one commanded my attention and my frugal bone. 99 cents for what looked like an excellent pattern.
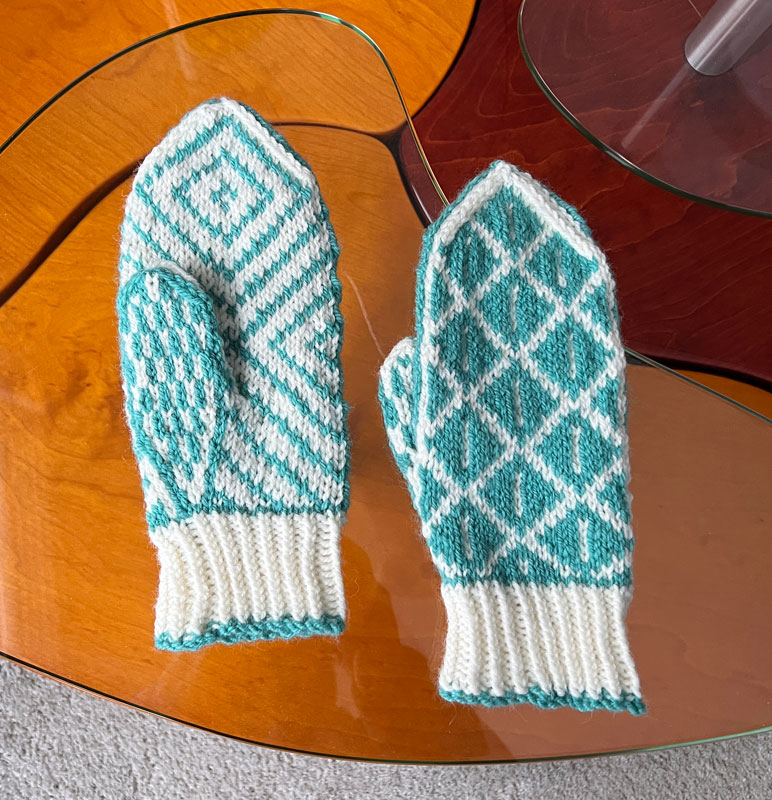
I wasn’t wrong. The fair isle in this mitten is easy and well planned. The directions are error-free. And I was super pleased to see that the charts were super-sized so I wouldn’t need to test my computer skills to try to enlarge them. My new personal wimpy-knitter whine is charted patterns so small you need magnifying glasses to read them.
The coin-slot top pattern integrates well with the palm and thumb patterns. I followed the instructions exactly and it worked out perfectly. The mittens did need an extra amount of sewing repair at the base of the thumb though. The pattern calls for placing the thumb gusset stitches on a holder and then casting on a bunch of stitches using the backward loop method. Next time I knit these I’ll likely substitute an afterthought thumb.
The mittens needed a good soak to relax the stitches and let the coin slots emerge. Next time I will try to be more aware that I need to loosen my tensioning over the slot section.
After knitting the mittens I had an entire skein of white left and a tad more than a half-skein of teal. I had the Sava Springs Cap in my queue and decided it would be a good fit for the yarn.
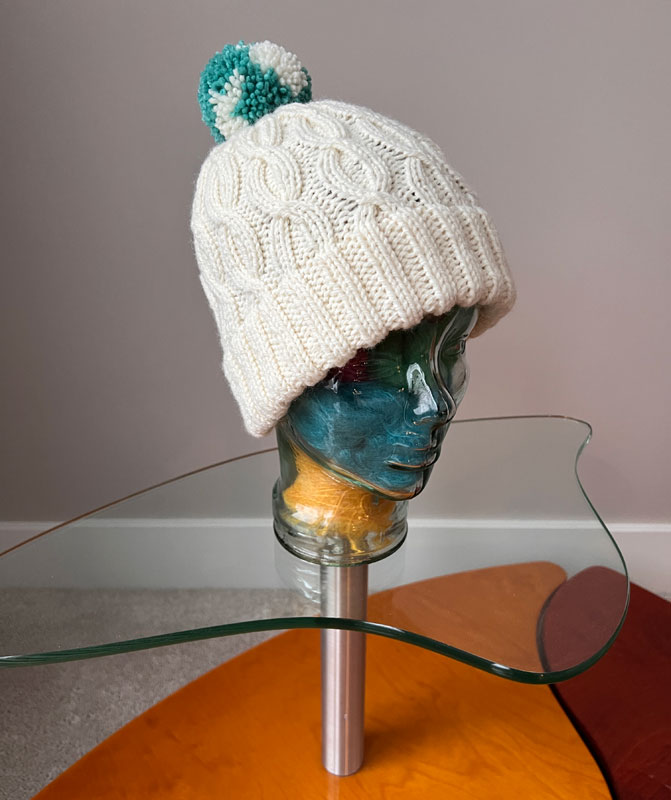
I wasn’t wrong. This beefy worsted, sometimes identified as an Aran weight, worked out well.
The pattern provides alternatives for the cuff. You can work a short section of ribbing, a traditional longer folded rib cuff, or a doubled cuff. I decided the doubled cuff would be totally cozy. I started with a crochet provisional cast-on. Be sure to follow the pattern directions and knit (no purls) one round after the cast-on or you’ll have a royal mess to untangle when you try to unravel the cast-on. After knitting the proper length of cuff you unravel the cast-on and place those stitches on a circular needle. Tucking that extra needle of stitches inside the cuff creates the folded cuff. Then continue with your working needle, knitting one stitch from the working needle with one stitch from the needle containing the stitches that emerged once you unravelled the cast-on. Once you complete the round you’ll have a permanently folded cuff.
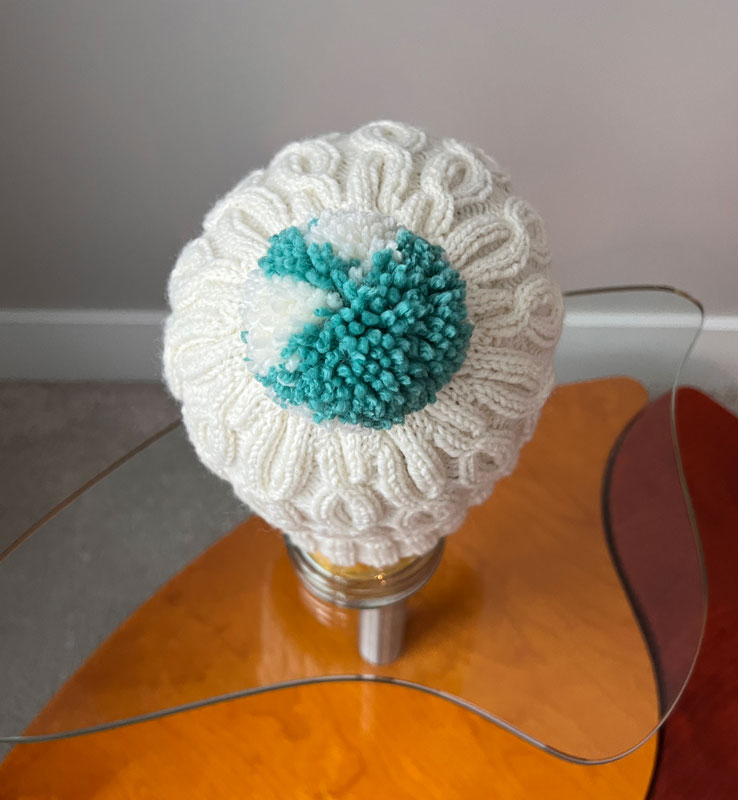
The crown decreases create an attractive well-behaved top. If you gift the non-pompomed hat to a kid you can look down at their head and congratulate yourself. They won’t look like their head comes to a point.
I decided a colorful pompom would work well with this hat. I use a Clover pompom maker to make my pompoms. The not-so-secret to using that tool to achieve a very full pompom is to stuff it so full of wound yarn that it will barely close.
I abhor wobbly pompoms so I sew them on very firmly, going back and forth through the core of the pompom 2-3 times. That makes them very difficult to remove when washing the hat though. And pompoms do not weather machine washing very well. So pick your poison I guess. A wobbling pompom or one that matts somewhat after washing. Sewing a snap onto the bottom of the pompom and the top of the hat can work. But my sewing skills aren’t quite up to the task.
I’m so pleased with how my Sleeping With The Stars worked out that I thought I’d give you another look.