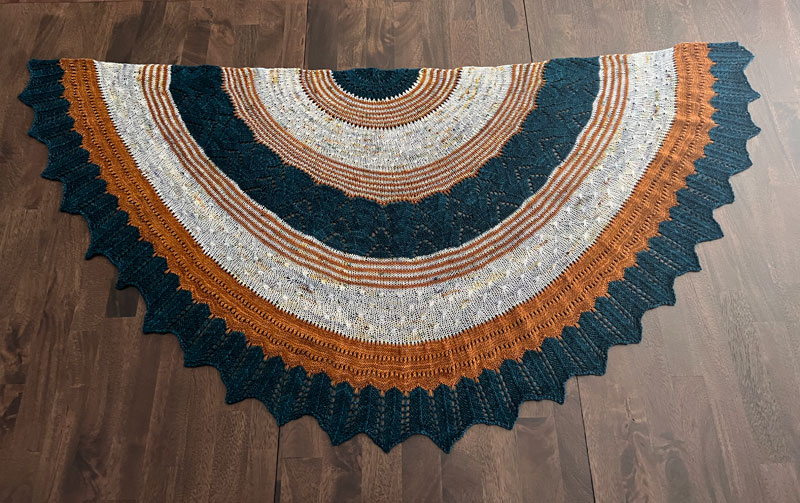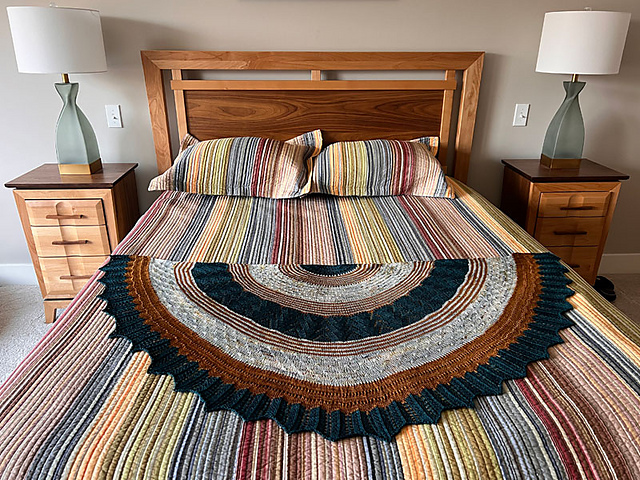
So…spring! This is Dream in Color Designs’ Field of Violets. I knit mine in the yarn called for, a specially-dyed version of 100% merino Dream in Color Smooshy. Knitting this was a total hoot. The trick that produces the violets? Every time you get to the bright purple yarn you knit the special flower stitch that forms the violets.
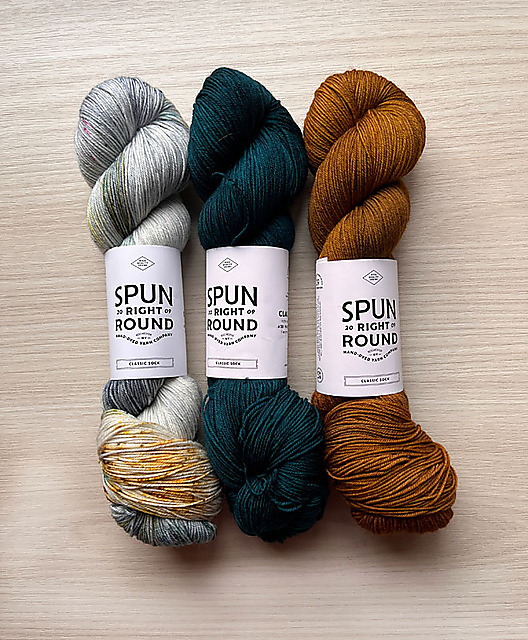
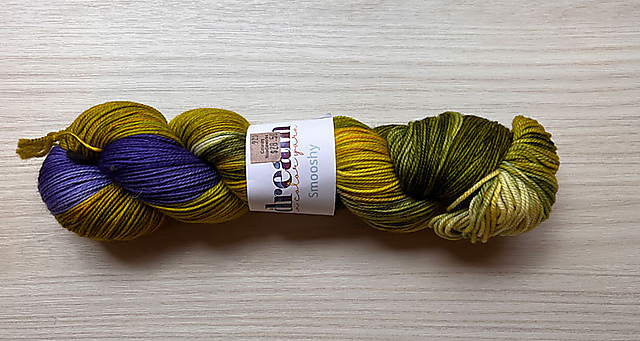
Here’s what the yarn looks like skeined:
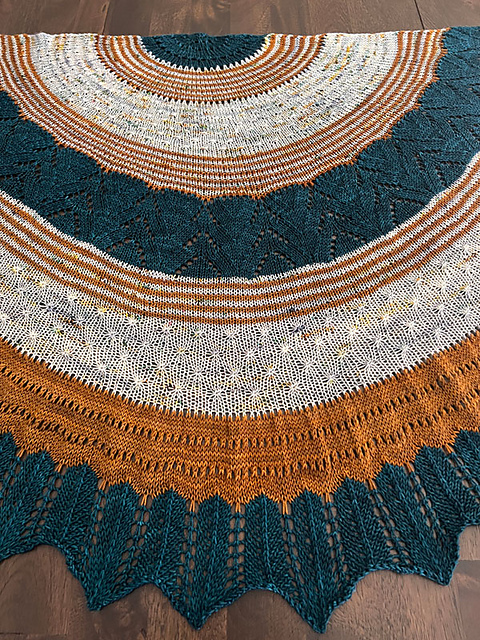
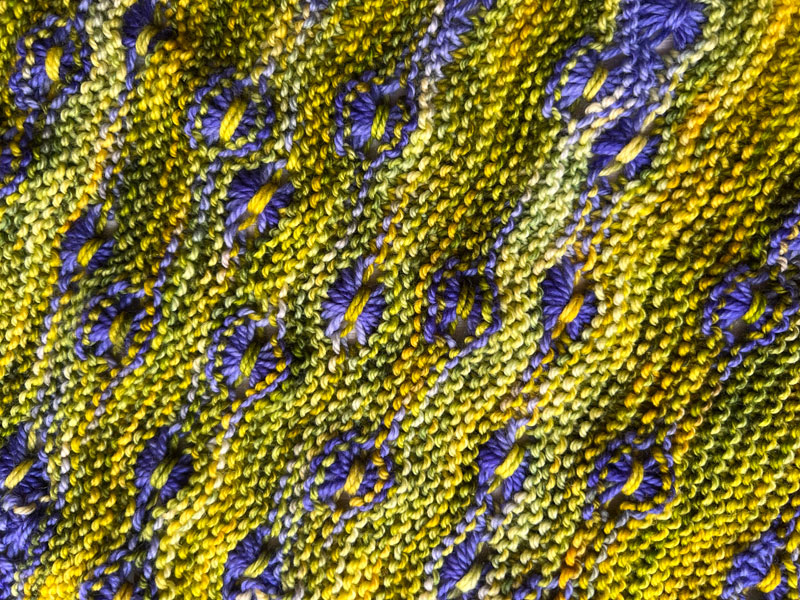
And here’s a closer look at my field of violets:
After a few false starts, I realized it would be helpful if I cast on as far away as possible from the purple contrasting color. The cast-on is only 4 stitches and increases only 1 stitch every 6 rows. Waiting to start a flower until several rows in gives a knitter room for the special stitch without distorting the structure of the start of the scarf.
I already spilled the beans about the trick to this design. You begin the flower stitch when your working yarn changes to the contrast color. At first, I misunderstood and thought you worked the flowers when you came to the contrast color stitches already on your needle. Nope. Watch for the purple coming up in your working yarn.
The flower stitch is worked over 3 rows. The pattern includes directions for how to work a flower when you encounter the contrast color on a right-side row and slightly different (but important) directions for when you encounter the contrast color while you’re working on a wrong-side row. The first 2 rows of the stitch are set out in the directions. The 3rd row is that you knit the stitches that have been bundled up. At first, I thought you put these bundled stitches back on the left hand needle at the end of the 2nd row manipulations and knit the bundle right away. Nope. Wrong again. Wait for the 3rd row. This video helped me understand what’s up with this flower stitch.
Another tip is that it’s perfectly OK to make different sized flowers. I fairly regularly encountered lengths of contrast color where I decided to work 6 stitches into the flower. Sometimes I knit teeny ones in only 3 stitches. And if you try to space the flowers in some way…well, best to give up at that. Flowers grow and scatter as they will. Let them do that in this scarf too, unless you want to drive yourself crazy.
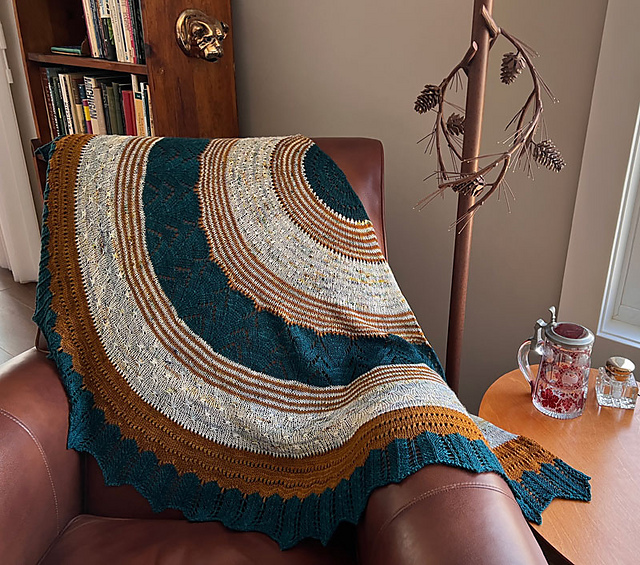
Quite a few Ravelers report blocking their scarf. Not me. I like mine unblocked. More texture!
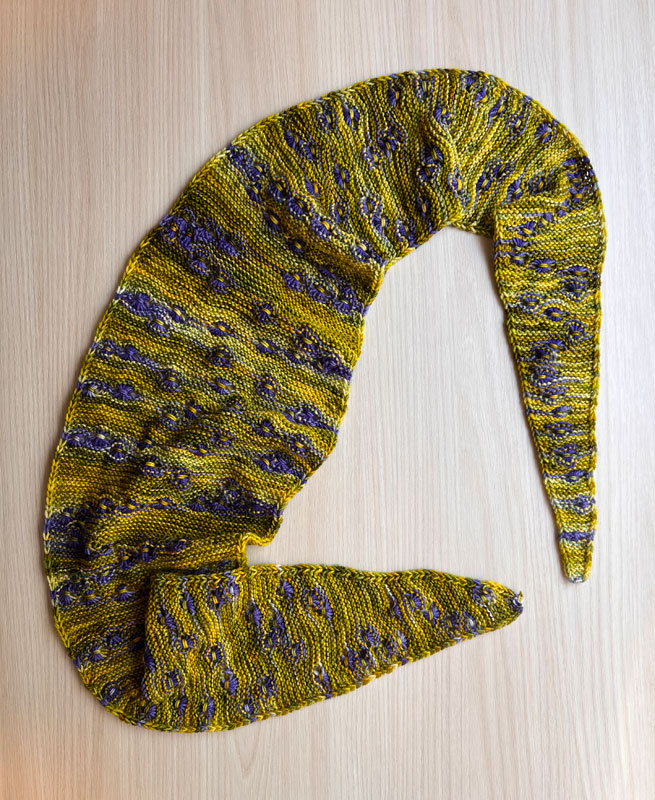
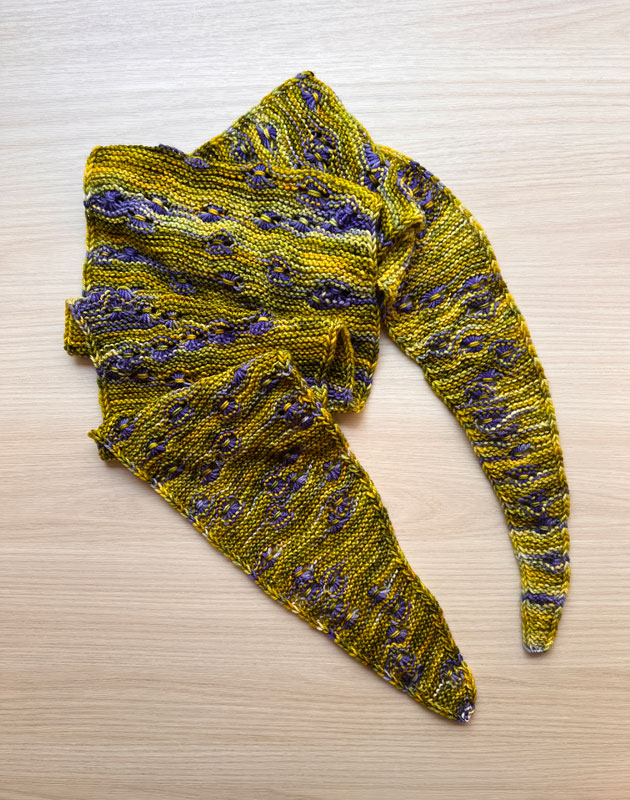
The instructions say that the midpoint of the scarf should be 38-40 inches from the cast-on and that you should increase to a set number of stitches before beginning the short “knit even” part of the scarf that forms the middle section. Despite my knitting on gauge with the yarn the pattern calls for, I didn’t get to 38 inches until I had 10 stitches more than the pattern called for. Other Ravelers reported that as well. I increased at the called-for interval until I got to 38 inches. Next I worked the straight section for the number of rows called for. And finally I began the decreases.
When I weighed my yarn at the midpoint I thought that it would be no problem to decrease, at the rate the pattern directs, all the way to the bind-off and not run out of yarn. But I was wrong. So for the last 6 inches or so of the pattern I decreased every 4 rows. That worked. My scarf is a somewhat different shape from what the designers planned. I’m fine with that!
I picked up this next skein at a yarn stall within an outdoor market. It was spun and dyed by southwest Michigan’s Shady Side Farm. I honestly don’t know what drew me to this particular skein. I’d not been even been overcome by Barbie fever.
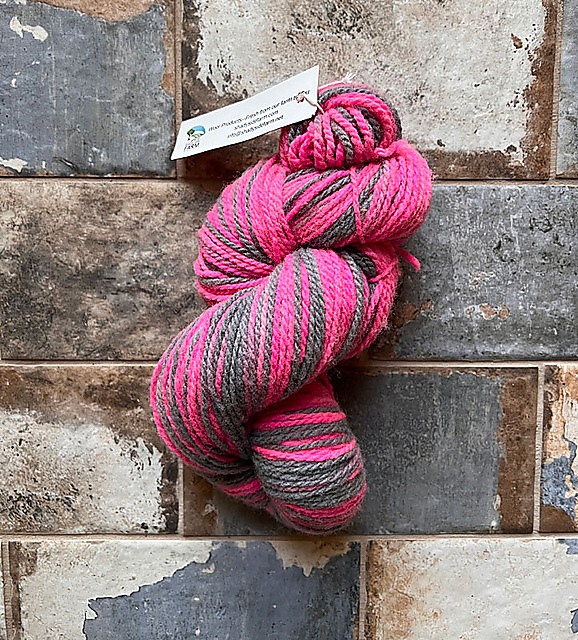
I seem to recall that I thought it would make a nice accessory for my granddaughter. That pink has her name written all over it. But the yarn is definitely “rustic” in feel and my grand and rustic feel don’t really work. Eventually all I could see were piglets.
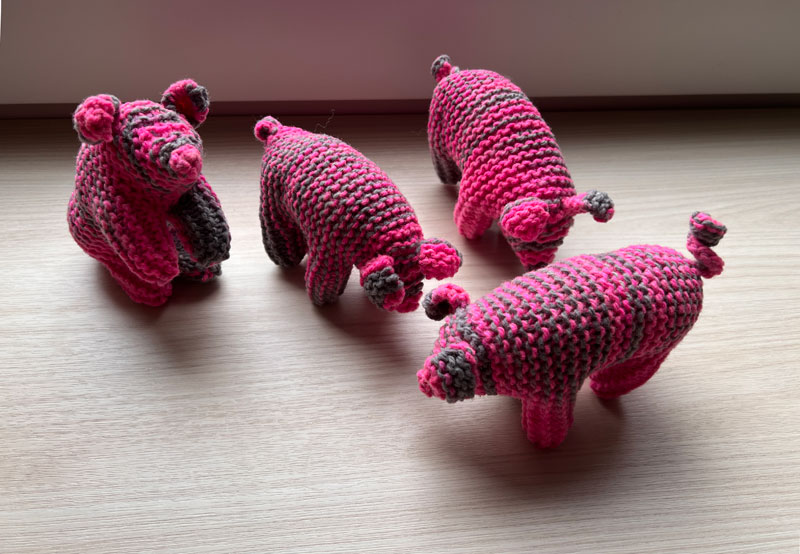
Piggies cavorting. I’ve called my Ravelry project Muddy Pigs Pigmania.
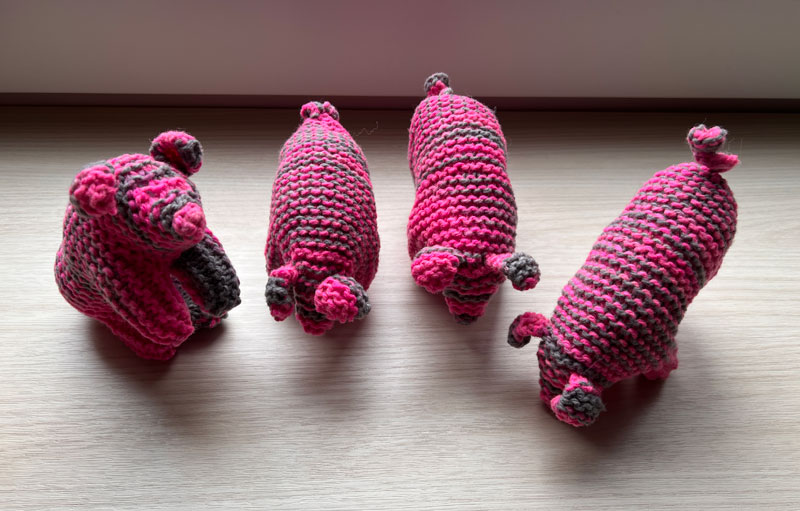
This beginner-friendly pattern is from Freya Jaffe’s wonderful classic book Toymaking with Children. I was introduced to the book when my son was in pre-school. His children are now well beyond their pre-school years and I’m still knitting simple toys from it. In the last 35 years I’ve made a million of these oinkers!